How to make pavers from start to finish
In this post, you are going to learn how to make your own pavers at home from start to finish
PAVERS
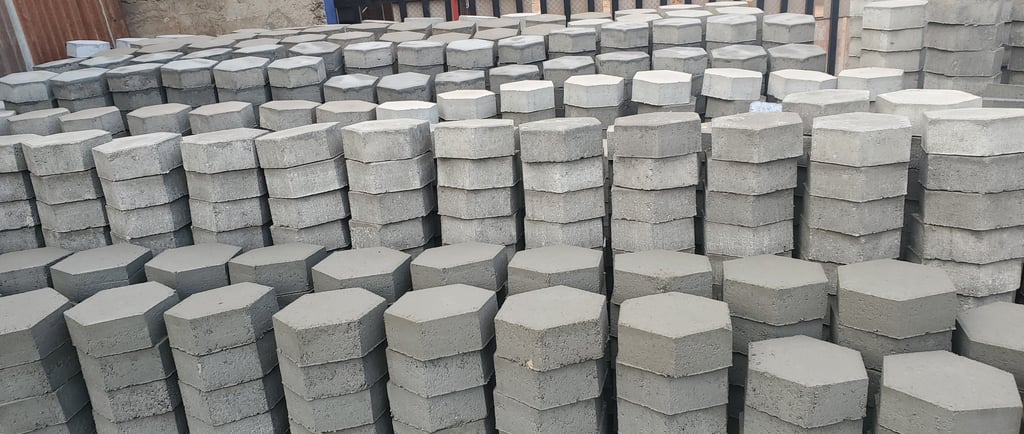

How to Make Pavers from Start to Finish: A Comprehensive DIY Guide
Table of contents
Core Concept or Idea
What are pavers?
DIY step-by-step guide to make pavers from start to finish
Step 1: Gather Your Materials and Tools
Step 2: Mixing the Materials
Step 3: Preparing the Smooth Finish
Step 4: Moulding the Pavers
Step 5: Curing the Pavers
Conclusion
FAQs
Core Concept or Idea
In this post, you are going to learn how to make your own pavers at home from start to finish. As a civil engineer with years of experience in compound designing and generally building and construction, I've developed a method that guarantees high-quality results. This guide distils that expertise into an easy step-by-step guide, ensuring that you can create your own pavers at home with confidence.
Creating your own pavers can be a rewarding project that enhances your outdoor space. Not only does it allow for customisation, but it also offers a chance to engage in a hands-on construction experience. This guide will walk you through the entire process, ensuring that you have all the information needed to make strong, durable pavers using locally available raw materials.
What are pavers?
Pavers are building materials used in landscaping, providing functionality and design to outdoor spaces. They can be used for patios, walkways, driveways, and more. The method outlined in this guide is simple enough for anyone to follow, even if you have no prior experience in construction.
DIY step-by-step guide to make pavers from start to finish
Step 1: Gather Your Materials and Tools
The first step in making pavers is to gather all necessary materials and tools.
This preparation is crucial for a smooth workflow and successful results.
Materials Required
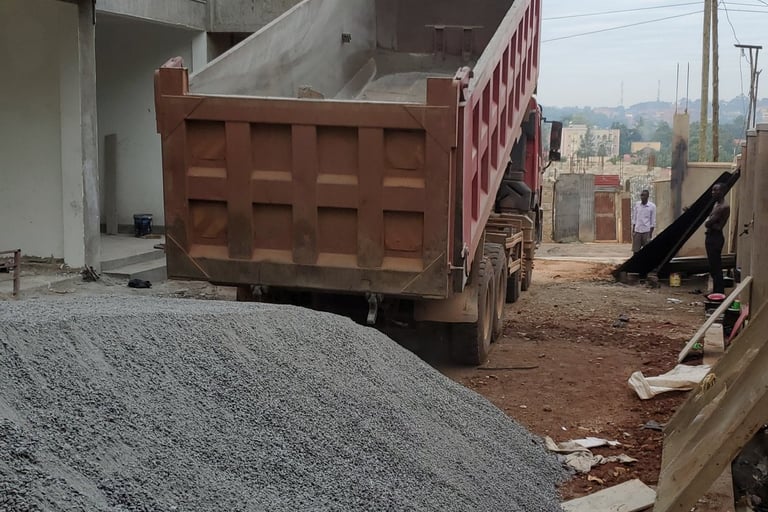
Stone Dust: This is the primary material used in the paver mix.

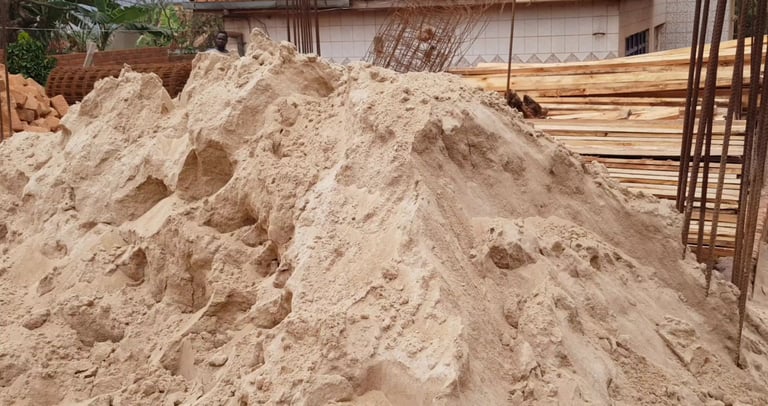
Plaster Sand: Mixed with stone dust to improve texture and stability.

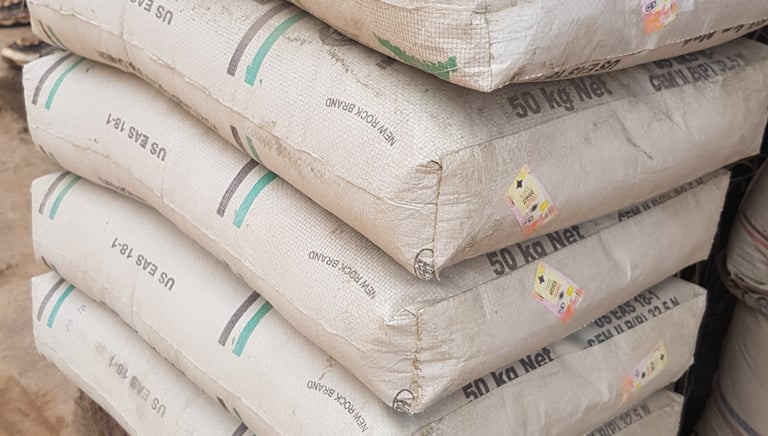
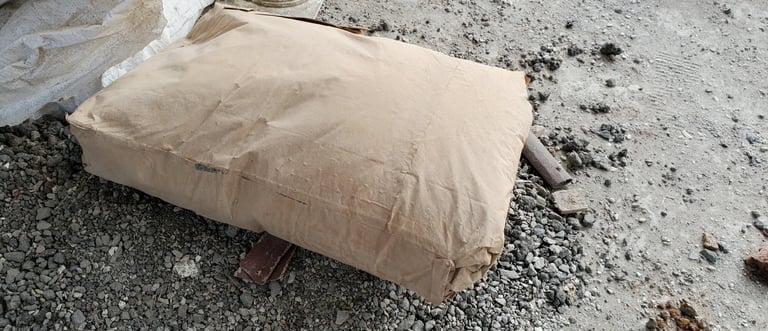
Cement: the binding material for hardening the pavers.

Road lime: Mix road lime with cement and sand to enhance the strength of the pavers.

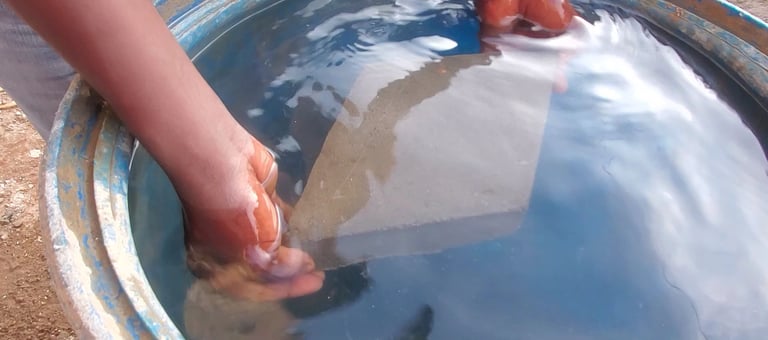
Water: necessary for mixing and curing the pavers.

Tools Required
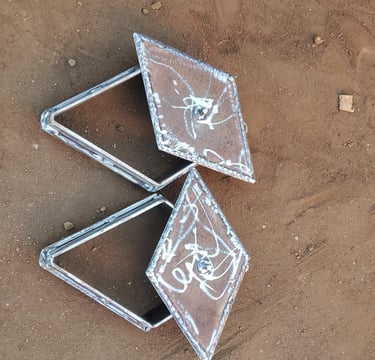
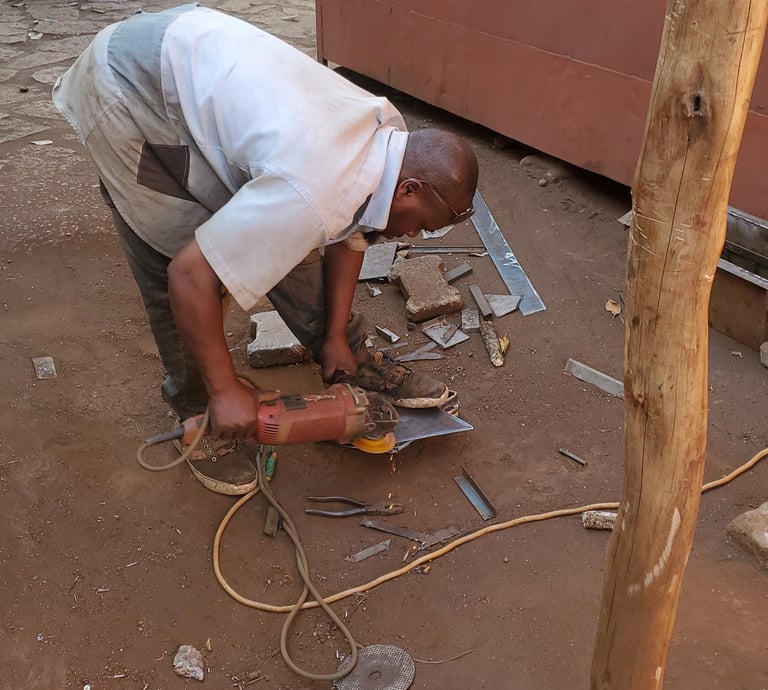
Moulds: These can be crafted in a welding workshop to create the desired shape of your pavers.


Wheelbarrow: used for transporting materials.
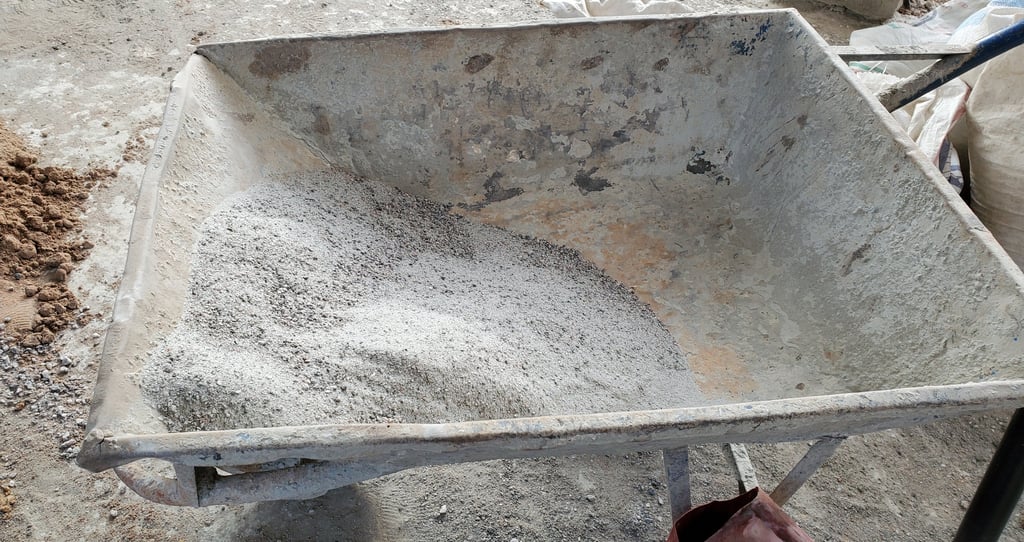

Hammer: Used for compacting the mixture inside the moulds.
Piece of Wood: Acts as a base for the mould during the paver-making process.
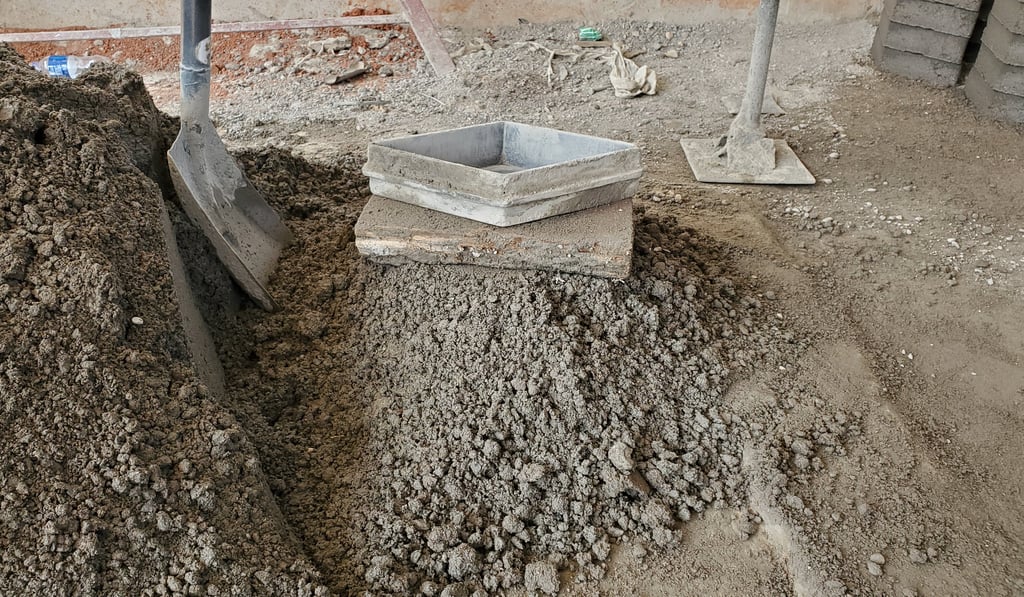

Step 2: Mixing the Materials
With all materials and tools ready, the next step is to prepare the mixture for the pavers. A precise mix will ensure durability and strength for the finished pavers
Mixing Ratios
The mixing ratio is important for achieving the desired quality of the pavers. Here’s how to do it:
Start with two flat wheelbarrows of stone dust.
Add one flat wheelbarrow of plaster sand.
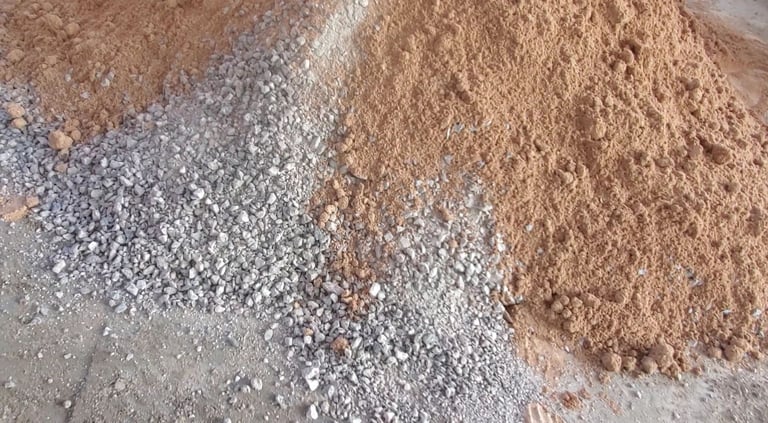

Then add one bag of cement, reserving about 5 kg to make smooth later.
Add half a bag of road lime (approximately 3.5 kg) to the mixture. 1 full bag of road lime is 7kg therefore half bag is 3.5 kg
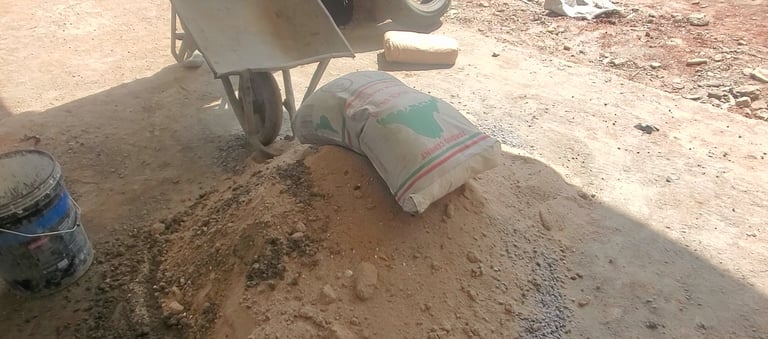

As you mix, aim for a consistency that allows the mixture to hold together without being overly wet. The water we use when mixing pavers has to be minimal
To summarise the above materials, you get
2 flat wheel barrows of stone dust, add 1 flat wheel barrow of plaster sand, add 1 bag of cement, add half a bag of road lime, mix for at least 3 times to have an even colour, and then add 40 litres of water.
Step 3: Preparing the Smooth Finish
A smooth surface on your pavers enhances their appearance and usability. To achieve this, follow these steps:
Creating the Smooth Mix
For the smooth finish:
Use the reserved 5 kg of cement from the bag of cement used in the mix earlier.
Combine it with four flat scoops of plaster sand using a flat spade.
Add 2 and a half litres of water or 5 cups to create a workable, smooth mix.
If you wish to colour your pavers, consider adding an oxide of the colour you want at this stage in the x. One kilogram of oxide mixed into the smooth layer will provide the required colour for the pavers.
Step 4: Moulding the Pavers
Now that your mixture is ready, it’s time to mould the pavers, and you have to follow these steps to create your pavers.
Moulding Process
Place a piece of wood at the base of your mould.
Spread a thin layer of your smooth mix evenly at the bottom of the mould.
Add the main mixture of stone dust, plaster sand, cement, and road lime into the mould.
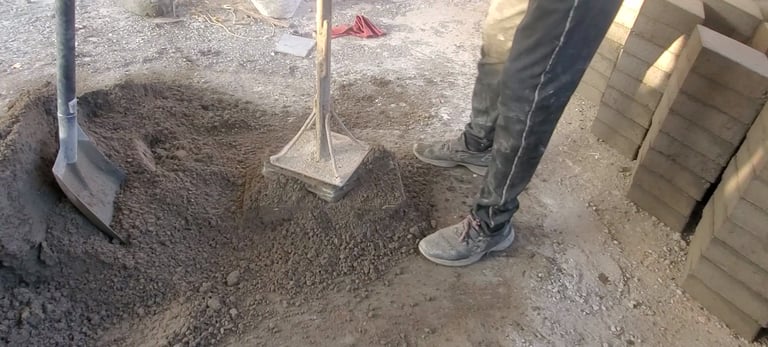
Compact the mixture firmly using a hammer.
Level off the excess mixture above the mould using the flat spade.
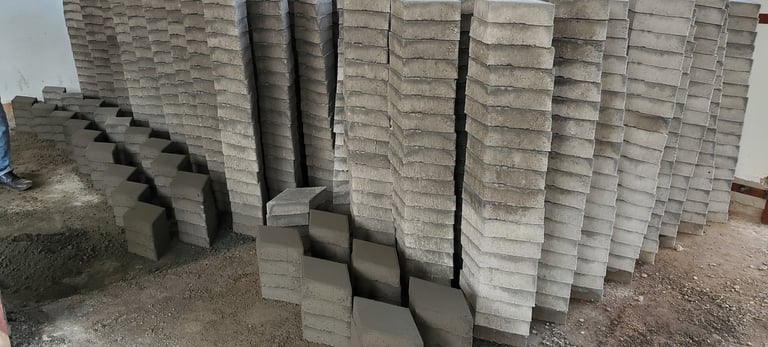
And then take the paver to a well-prepared place for drying.
Repeat this process until you have created the desired number of pavers.


Step 5: Curing the Pavers
Curing simply means the process of maintaining adequate moisture and a favourable temperature to allow cement in concrete to harden and gain its maximum strength.
Curing is the final step and the most important step in the paver-making process that significantly impacts the strength and durability of the finished pavers. Usually the way we do it is by simply pouring water on all the pavers three times a day for 28 days since cement gains its maximum strength after 28 days. Failure to do so will cause the pavers to break easily even after laying, and that’s why it's crucial to do curing.
To summarise, here’s a quick recap of the entire process for making pavers:
How to Make Pavers Using Stone Dust
Materials Needed
2 flat wheelbarrows of stone dust
1 flat wheelbarrow of plaster sand
1 bag of cement
½ bag of red lime
40 litres of water
Instructions:
Mix the base material.
Combine:
2 flat wheelbarrows of stone dust
1 flat wheelbarrow of plaster sand,
1 full bag of cement, and
½ bag of red lime
Slowly add 40 litres of water to the mixture, ensuring the components blend thoroughly for a consistent texture.
Create the Smooth Finishing Layer
To achieve a smooth finish on the pavers, mix:
4 flat spades of plaster sand,
5 kg of cement, and
2 litres of water.
Apply this smooth layer evenly across each paver to enhance its appearance and surface quality. The above mix will give you approximately 100 pavers.
Mould the Pavers
Carefully mould the pavers, ensuring each one is of uniform shape and size. Use moulds or forms for consistency.
Curing Process
Once moulded, keep the pavers moist for 28 days to allow proper curing. This step is crucial for strength and durability.
By following these steps, you can successfully create pavers that are not only functional but also visually appealing. This DIY project can enhance your outdoor space while at the same time providing a sense of accomplishment.
I created a video version of how to make pavers from start to finish. click here to watch it